tips & trends
How to do a pedicure at home: step-by-step guide
Whether it’s sandal season, or a winter pamper session, you should always put your best foot forward with an essie pedicure. So, step out in style by following our step-by-step pedicure guide for the ultimate at-home spa treatment.
Ready to find out how to do a pedicure at home? Read on for all our nail-technician approved tips and tricks.
Step 1: remove any existing polish left on toenails
Begin your at-home manicure by first removing any previous nail polish. This can be tricky if you’re wearing a deep red or blue nail polish shade. Rubbing back and forth can transfer pigments to your cuticle, leaving a stain.
The best and easiest way to remove stubborn nail colours is to press the nail polish remover wipe onto your nails, wait 5 seconds for it to loosen the nail polish, and wipe down the length of the nail. Repeat this step a few more times to remove any excess.
When your nails are polish free, wash your hands with soap and water (or sanitise) to start your at home pedicure with a clean canvas!
Step 2: this is how to shape your toenails correctly
If your nails have grown too long, rather than filing them down, begin by giving your nails a trim. With your nail clipper, trim the nails using small clips working from one side of the nail to the other. Never begin clipping your nail in the center because it can put stress on your nail plate.
Once you have your desired nail length, file your nails in shape with a soft nail file and refine the edge by running a buffing blocknail buffer along the tip to smooth any snags! How to shape toenails? We recommend trimming and filing your toenails into a square shape because it helps prevent painful ingrown toenails.
For more tips on how to file and buff your nails, check out our nail filing guide!
Step 3: toenail cuticles need care as well
To soften your cuticles, apply a drop of essie apricot cuticle oil to every nail. With an orange wood stick or a clean stainless steel pedicure cuticle pusher, gently guide any overgrown cuticle back into place.
Always remember that our cuticles are a protective barrier, preventing bacteria from entering our bodies. Some people have thin, barely visible cuticles while others naturally grow thicker – but both are healthy when cared for properly, so don’t over push!
Pro pedicure tips: Previously, we believed that soaking our nails in water was the best way to begin a manicure and soften cuticles – this is a myth! Soaking our nails causes them to absorb water and expand, so the nail may not contract back to their true size for another 24 hrs. Polishing right after could mean less wear. Water also puffs out our cuticles, preventing a thorough clean up and it can also spread infection if you happen to have a cut. For many reasons, go waterless!
Step 4: how to use a foot file
Now that your toenails and cuticles are done, it’s time to show the rest of your feet some love. For a proper at home pedicure, learning how to use a foot file is a must. The first step is to choose the right foot file.
Coarse metal foot files are recommended if you want to buffer off harder skin or calluses. But go easy! Grating too hard may cause injuries. Start by buffering the area on your heel and sides and rinse away the dead skin cells with a damp sponge. Repeat as necessary.
Finer files are usually made of sandpaper and are gentler on your feet. If the skin on your feet is not as hardened or callused, this is your go-to file. For baby smooth feet, grate in circular motions too.
Step 5: apply your pedicure base coat
Pro pedicure tips: like the surface of our skin, our nails are susceptible to oils, residue and build up. Before applying your pedicure base coat, exfoliate your nails with a light buff using a buffing blocknail block. Remember to be gentle! While essential when done correctly, over buffing can weaken the nail and cause splitting.
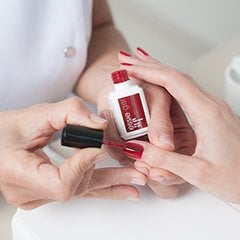
Now, for the base coat, this step is super important for a chip-free, at home pedicure. A base coat provides a barrier between nail polish and your nail, preventing stains. It also acts as an anchor to nail polish, holding it in place like glue and preventing chips.
Note: essie gel couture and essie TREAT, LOVE & colour nail products have been specially formulated with no base coat needed.
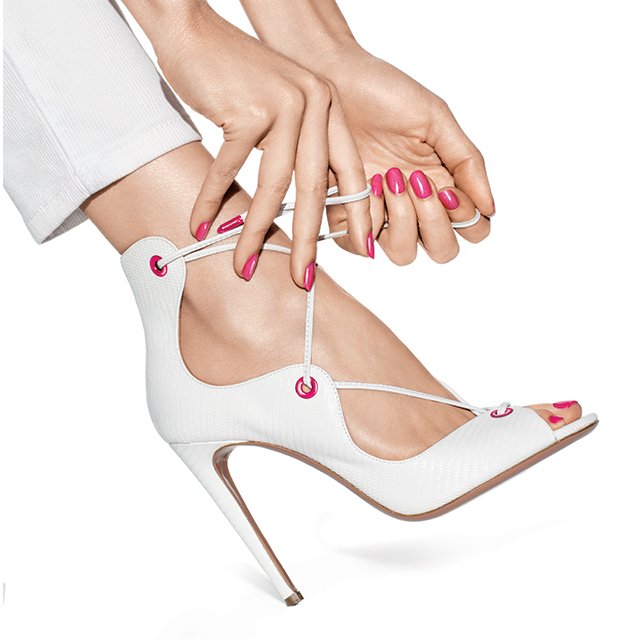
Step 6: how do you paint your toenails
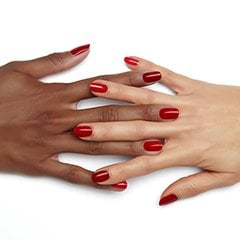
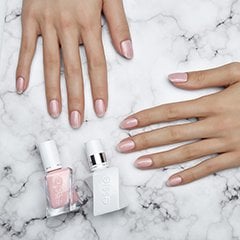
essie offers hundreds of essie enamel and longwear nail polish colours for you to choose. How to paint your toenails? Select your nail polish shade and apply two thin coats of nail colour, waiting 2 minutes between each. The aim of the first coat is coverage and the next is to achieve full depth of colour.
Whether a special occasion or just a day to treat yourself, picking a pedicure colour should be fun – but even for pros, applying nail polishing on your own feet can be challenging. We recommend using a toe separator to avoid getting any nail varnish on your feet. Start by painting your toenail in the middle first, and then to the edges – try not to use more than three strokes.
Pro pedicure tips: apply thin coats, thickly layered nail varnish can cause bubbles or dry unevenly.
Step 7: finish with a top coat
An essie top coat protects your pedicure and adds a glossy shine (or velvety matte) finish. This step is our at home pedicure cherry-on-top, so never forget it!
Whether you’re walking out the door in less than 60 seconds, want a gel-like shine or matte finish, choose your essie top coat here.
CTA: With our pedicure step-by-step guide you’re ready to put your best foot forward, in style!
shop this post
 nail care
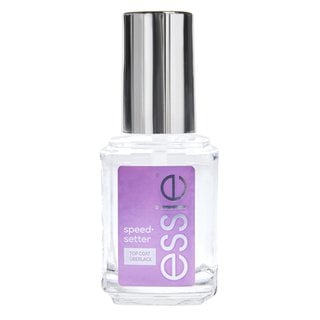
speed setter
<style type="text/css">
p.p1 {margin: 0.0px 0.0px 0.0px 0.0px; font: 12.0px 'Lucida Grande'; colour: #000000}
</style>
<p class="p1">for a perfect high-shine finish in record time, essie speed.setter is top coat and quick dry top coat in one cutting-edge formula.<span class="Apple-converted-space"> </span>This high performance top coat dries in under a minute, and works with any essie enamel polish for an ultra-shiny finish!</p>
nail care
speed setter
<style type="text/css">
p.p1 {margin: 0.0px 0.0px 0.0px 0.0px; font: 12.0px 'Lucida Grande'; colour: #000000}
</style>
<p class="p1">for a perfect high-shine finish in record time, essie speed.setter is top coat and quick dry top coat in one cutting-edge formula.<span class="Apple-converted-space"> </span>This high performance top coat dries in under a minute, and works with any essie enamel polish for an ultra-shiny finish!</p>