tips & trends
essie’s ultimate guide to mastering nail art: tips, techniques, and inspiration
Love the look of nail art but not sure where to start? We have good news: there’s no need to spend hours in the salon to get a one-of-a-kind manicure. All you need are a few basic supplies and our handy nail art tips. Here’s how to do nail art, even if you’re a complete beginner.
Find essential nail art tools
You don’t need complicated equipment for nail art. In fact, some of the cleverest nail art techniques use tools you probably already have at home!
Here are a few essentials to have in your kit:
- Nail art brushes – Brushes and pens come in a variety of sizes, making it easy to draw directly on your nail with precision for high-detail work;
- Dotting tool – Dot designs are firm favourites when it comes to nail art for beginners. A dotting tool features a ball-shaped tip to get your look just right;
- Striping tape – From basic stripes to checks and geometric shapes, create clear, crisp lines on your nail with tape;
- Cotton swabs – Clean up excess nail polish with a cotton swab, or use it to hand paint and blur in swirly shapes;
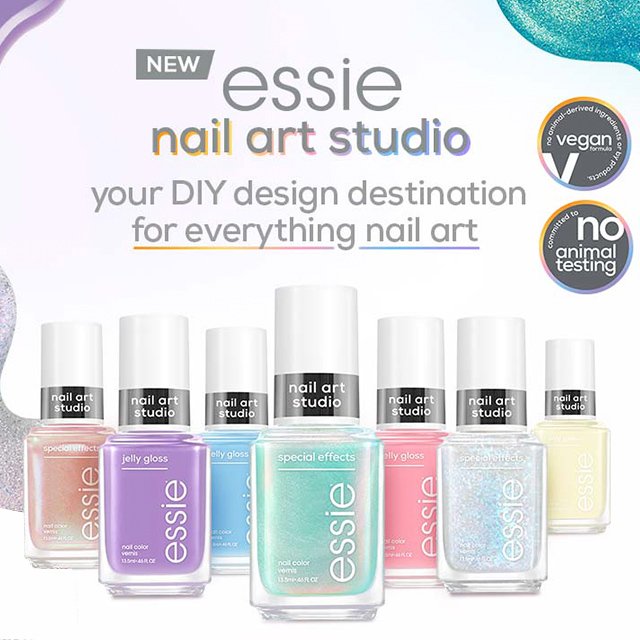
- Nail polishes – Naturally, nail art techniques require polish. And with a rainbow of shades available, the creative possibilities are endless;
Prepare your nails
Before diving into how to do nail art, start with a little prep work.
- Soak your nails in warm water;
- Remove all traces of existing nail polish using nail polish remover;
- Trim and file your nails to the shape you want;
- Apply a cuticle cream or oil to soften and moisturise;
Start with a base colour
Great art needs a solid canvas, so prime your way to perfection with a base coat and colour. This will give a smooth backdrop to make any layered effects really pop. For an understated look, go for a neutral base or icy pastel that lets your nail art shine. If you prefer maximalist vibes, opt for splashy, iconic reds.
Whether you prefer sleek and stylish or bright and bold, you’ll find it in our collection of essie enamel nail colours. And for a salon-inspired gel manicure that lasts, choose an essie Longwear Nail Polish.
Once you’ve chosen a base colour, apply a thin layer (or two!) to your nails.
Create your nail art design
Now it’s time to create your design. Step by step nail art tips depend on the look you’re aiming to achieve. Here are a few techniques for trying nail art at home for the first time.
Polka dots
Dotted designs are a great choice for nail art for beginners. All you need is a dotting tool and two nail polishes in contrasting colours. After applying your base colour in thin layers, let it dry completely. Then use your dotting tool to create polka dots on top. If you don’t have a dotting tool to hand, try the round tip of a Kirby grip. A key tip here is to use a light touch with the dots – applying too much product could lead to smudging.
Splatter effect
For a cool splatter-paint effect, scrunch up a small ball of cling film and use it to apply nail polish on top of your base colour. It gives that perfectly imperfect splattered look.
Stripes
Once you’ve applied your base colour in thin layers, wait for it to dry completely. Then, take a small piece of tape and apply it lightly to the nail as a guide for your stripes. Paint the exposed section with a contrasting colour. Wait for this to dry before peeling off the tape and repeating as needed.
Ombre effect
Use a makeup sponge to build up your second colour in light layers over your base colour. Sponge from the top or bottom, fading out as you get to the middle of the nail. Another way to achieve this look is to first apply coloured stripes in colour gradients directly on the sponge. Then, apply varnish to the nail using the sponge.
Clean up any mistakes
Even with the right tools and a steady hand, mistakes happen. Dip a cotton swab in nail polish remover and gently dab away any excess polish on the skin. You can also use this to erase mistakes and start fresh.
Complete your nail art with a top coat
Seal and protect your masterpiece with a thin layer of top coat. It’s the finishing touch for nail art at home, locking in your artwork while blending layers with a single, smooth finish. Whether your style calls for a high-shine or soft-matte, find the perfect fit from our range of Essie top coats and finishers. Short on time? Go for a quick-dry formula to protect your art from peeling, chips and fading in a flash.
Swirls, stars and pops of pattern – explore classic and bang-on-trend nail art ideas from essie for more inspiration.